Good Evening everyone
I hope you all had a good Christmas, due to life and ill health I haven't been able to post for a while so im doing a mass upload of my Christmas cards so that I have a record of them.
Wishing you all a Happy and more importantly a Healthy New Year.
Christmas Poinsettia's

Using up offcuts of acetate, i had some folded thin strips which i adhered between folded strips of white pearl cardstock - these were also offcuts from making card blanks. Sentiment stamped with iced spruce distress ink using Lisa Horton stamps 'festive flurry sentiments'. Tim holtz tattered poinsettia die used to cut more offcuts of acetate which were coloured with red alcohol inks.

Version 2 - the holly was die cut from silver mirror card which was coloured with green alcohol inks Cheerylynn holly die Gold gems added for some bling. I used lightly patterned papers for my inserts which show through the acetate panels

***
Christmas patchwork

Using Lisa Horton 'Diagonal square background' 'LHCCD073' I die cut lots of little offcuts & scraps from various Christmas papers, green pearl card, red satin card and gold mirror card and paper pieced them together.

Ideal for batch making and very therapeutic to make.
***
Nativity

Woodware 'rejoice' stamp set I have stamped the image onto white vellum and coloured the back with alcohol markers. Used DL nesting dies to make a frame and mounted onto a white card blank. Touch of glitter glue added.

The same but different colourway
***
Winter berries

aall&create stamps 'squiggles' #498, MFT christmas sentiment die, star die. I stamped the berries with a green ombre ink pad and inked the edges with the same ink, matted onto a dark green pearl cardstock and then my white base card. I then raided my scrap box and die cut the sentiment from red satin card and the star from white and gold mirri card and layered up. Glitter then added to the berries to finish.
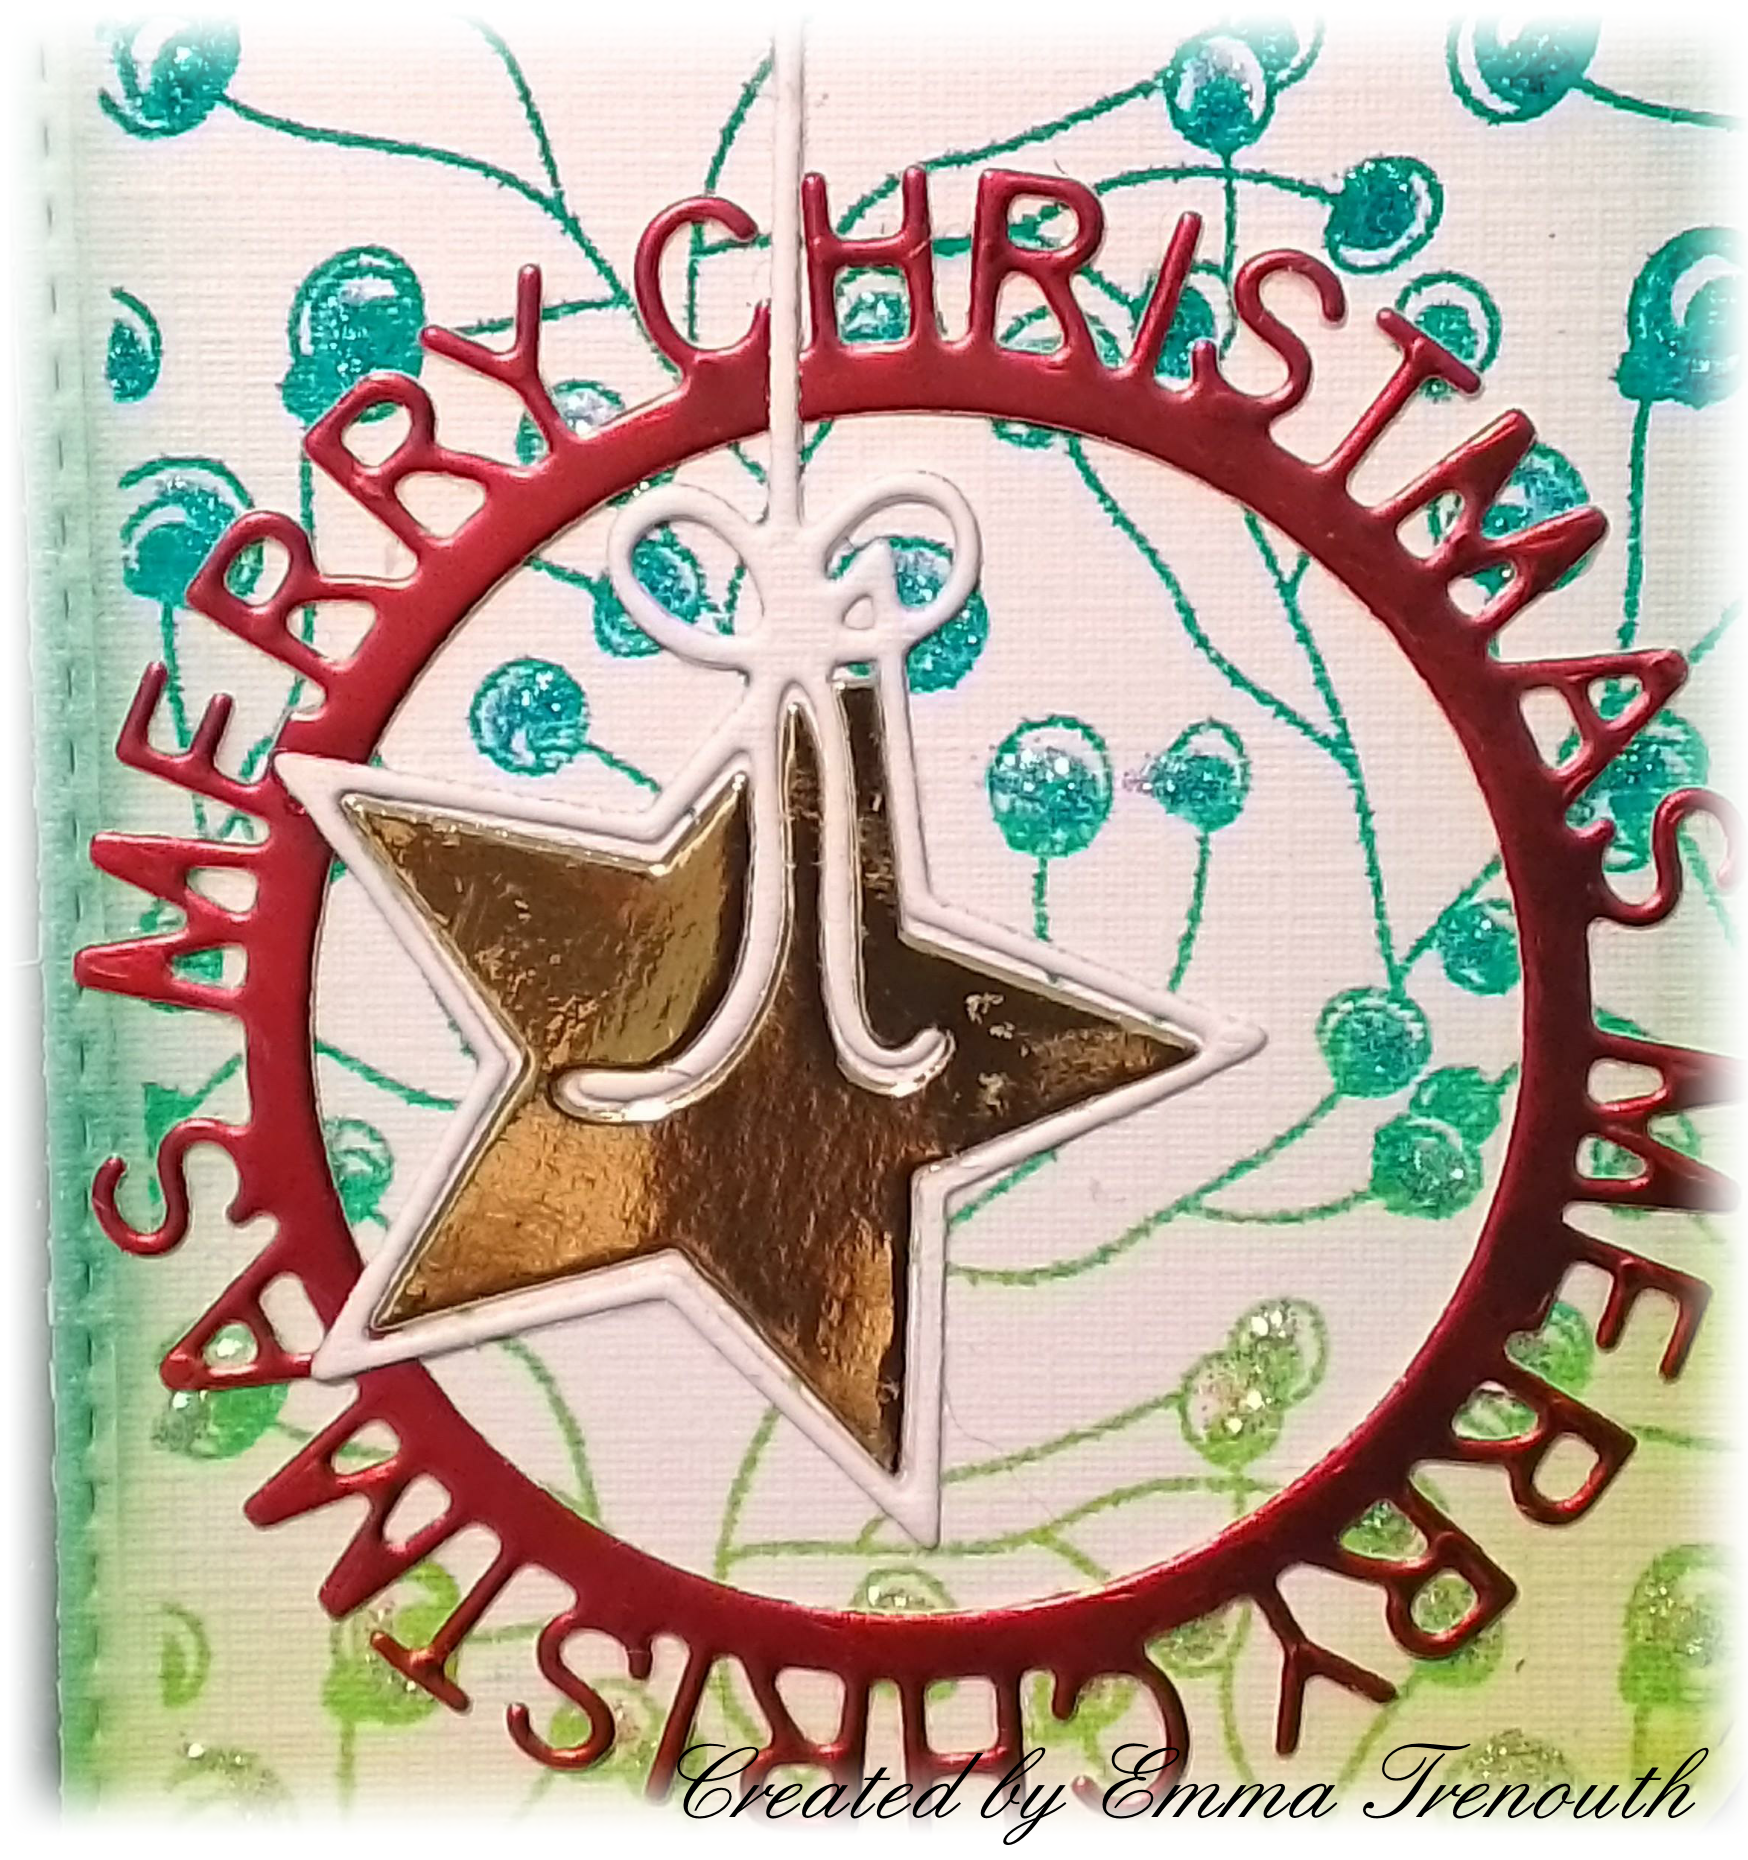
Sadly the photos don't do the satin & mirror cards justice

This version is gold mirri for the sentiment, red satin for the star outline and gold glitter card for the stars body.

***

Using Katzelkraft stamps 'reindeer sleigh' 'SOLO144' , hunkydory snowfall acetate I stamped the image and watercoloured with my derwent inktense pencils and cut out. I used an Ivory violet pearl cardstock for the base, frames and sentiment. Using a Christmas paper pad from the works (called let it snow) for my inserts which also acted as the background showing through the snowfall acetate on the front. Sentiment is an old magazine freebie which i stamped with a blue ink so softer than black.

Different colourways
Thank you all for popping by. I look forward to getting back into blogland and seeing all your creations this year. Happy Crafting for 2024! Emmax


