Followers

Showing posts with label cheerylynn. Show all posts

Thursday, 18 June 2026

June WLS #2 - Sports and hobbies

 Good Morning everyone

Time for some mid month inspiration for We Love Stamping Where the theme is 

SPORTS & HOBBIES

Once again I've gone down the hobbies route and this time a masculine card.  The men in my family have hobbies including wood and metal work and one brother likes nothing better than tinkering with engines and building things out of metal - he's made some amazing sculptures over the years out of scrap metal, nuts, bolts, cogs and old cutlery and dad can fix pretty much anything which is very useful! This card is ideal for both my dad and brother.  The stamping is the background.


Card size 6x6"

See last photo for how i made my stamped cog background. 

I then die cut the offset scalloped edge die from the front of the card - with the spine at the top so tent fold.  I then die cut the cog background to fit and a matt of black card, adhering to the front ensuring that the scalloped edge lined up each time.

As you cut a piece off the front of the card you can see inside of the card so to this i added more black card and cog design so that when the card is closed it is part of the design - photos below show this better.

I inked up a scrap of white card with the same blue and green distress inks used for the background and then die cut my alphas to spell 'Mr Fix It' matted onto white and then black card.  Cogs die cut from snippets of silver and blue mirror card and the screwdriver and spanners die cut from dark green mirror card scraps and then all arranged in a cascade down the front of the card, some flat and some with glue gel.

Showing the card stood up open, the point at the front holds it up nicely. 

Showing it side on

And from the opposite side.  

and onto my stamped background

My stamped cog background
I started with A4 white cardstock and this cog stamp. This is an A7 (4.1x2.9") stamp so i stamped it multiple times in black rotating it as i went so they weren't all facing the same way.  Once the black was completely dry i then over stamped the same cog stamp with distress inks salty ocean and evergreen bough, this added some nice colour to the background and broke up all the black.


Items Used:
aall&create stamp set #664 'Multilayered cogs'
MFT scalloped edge die
Cheerylynn cog dies
Tool dies (?brand)
Alpha dies (?brand)
Distress Inks 'salty ocean' 'evergreen bough'
Versafine Clair black ink
Black and white cardstock


We have these stamps from Visible Image as the prize this month so do hop over to We Love Stamping to join in, we do also have the anything goes option if sports and hobbies not for you but it must include stamping.


Thursday, 18 January 2024

Jacks birthday

Good Morning everyone

December and January are busy months for birthdays in my family.  These are the 2 cards i made for my brothers birthday this month

While wondering what to do for him, I saw these coffee themed stamps from aall&create in the countryview crafts Christmas advent sale which are perfect as he is a coffee addict for sure. 


A5 card size.  I used soft cream cardstock so its softer than white and stamped in brown ink.  I stamped the coffee cup twice,  one i die cut into the label shape, on the 2nd one I lightly watercoloured the cup with vintage photo and label with twisted citron distress inks, cut out and decoupaged onto the base image with glue gel, putting a curve in the cup. I die cut my card blank using a larger nesting shape and then found 2 pieces of paper in my stash to coordinate, die cut smaller than the base and adhered.  

I splattered some of the vintage photo ink onto the background too. The topper panel i added with foam tape for some dimension.

The stamped image had some flowery words which weren't suitable for my brother so i covered them up with a stamped birthday sentiment die cut into a fish tail banner.  I added some stamped and cut out coffee beans to finish.

Items Used:
aall&create stamps #642 'caffeinated'
stampin up sentiment stamp 'curly cute'
XL nested label die set
Distress inks - vintage photo, walnut stain, twisted citron
Patterned papers
Hammered ivory cardstock

Id love to enter this card in the following:


***


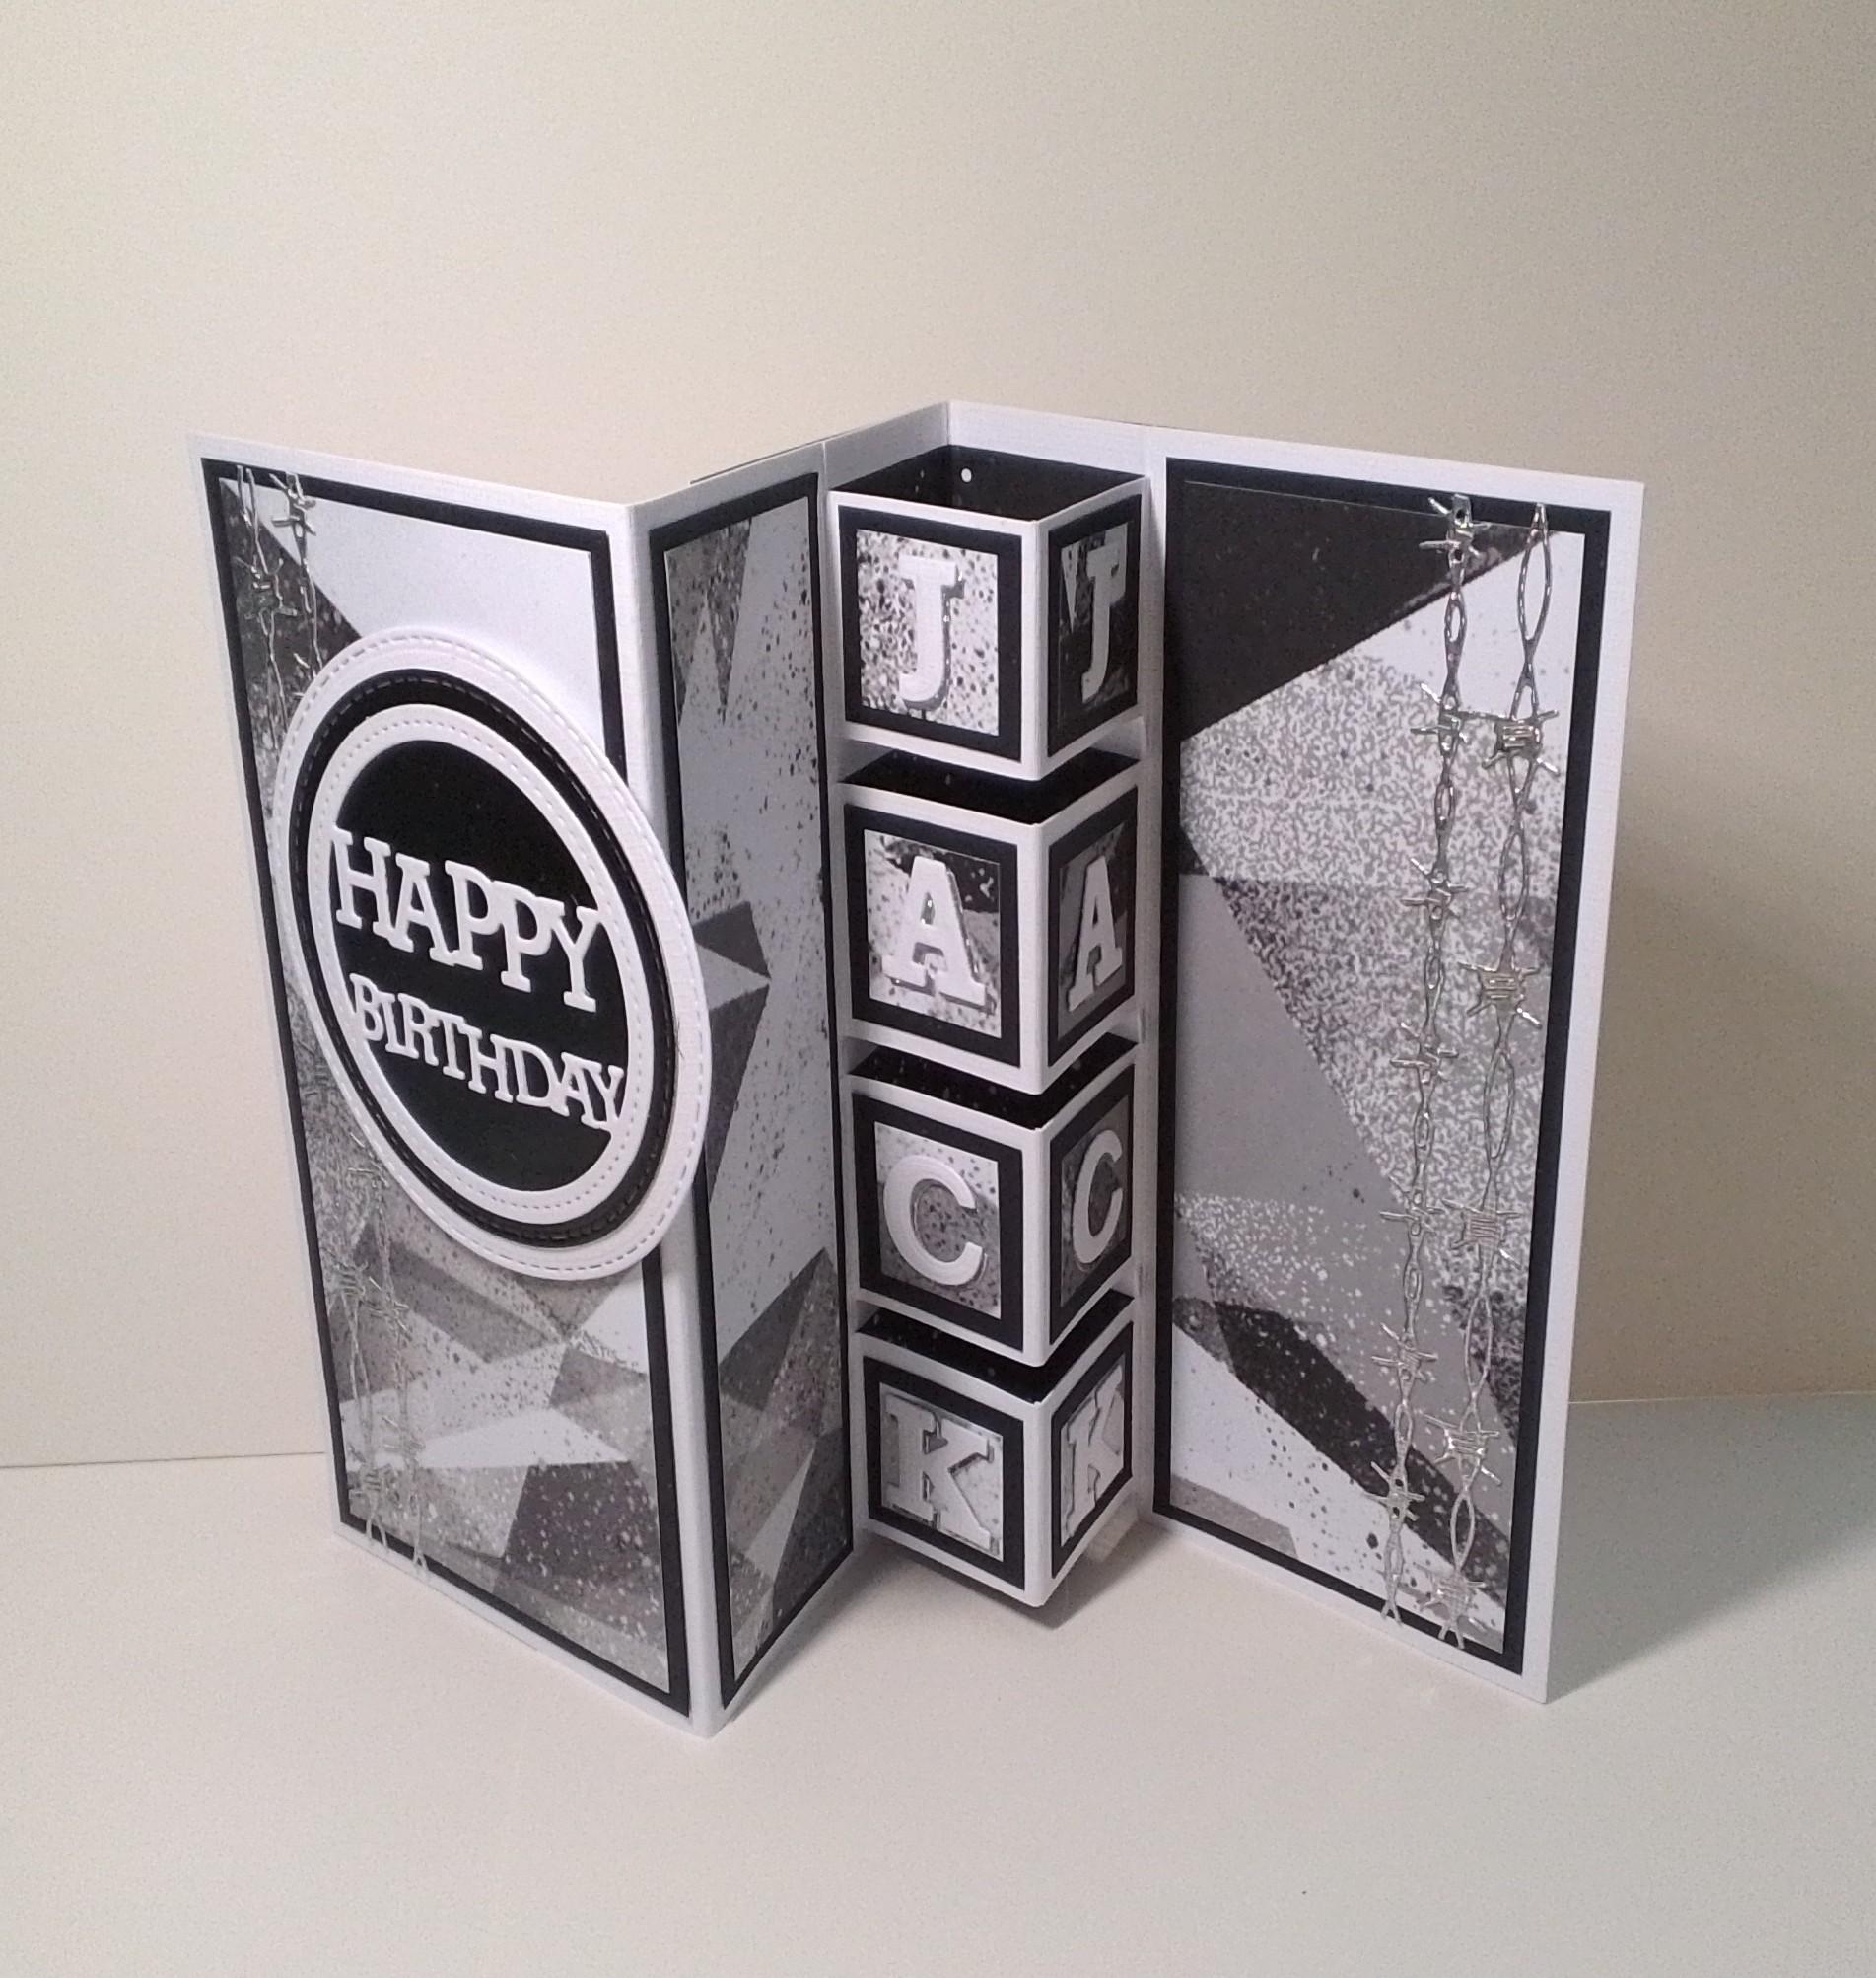
and card 2 I made while i was making my building block fold cards in November (see here), i found this fab monochrome paper in my stash which was ideal teamed up with black and white cardstock.


After making the base card from white cardstock, i matted the paper onto black card and then the base.  To add some interest i die cut barbed wire dies from silver holographic mirror cardstock and adhered to the front left edge and back right edge, sadly the photos don't pick up how it dances in the light.

Die cut birthday sentiment from white card, matted onto larger black circle and a bigger white circle and then added to the front


Showing it opened up. I die cut the alphas from white card and the silver holographic and off set them so have the mirror card drop shadow.  Not the best photos as it is much brighter in real life and especially when the light hits the silver holographic mirror card

Items Used:
Memory box alpha die set
Birthday sentiment die
Cheerylynn barbed wire die set
Patterned paper
Black & white card
Silver holographic mirri card

Thank you all for popping by once again.  


Monday, 26 September 2022

Exploding insert Christmas cards

Good Morning everyone

Today is Christmas cards using a beautiful paper pad from a Polish company called 'paper heaven' pad called 'swiateczna girlanda' , i teamed them up with very old spellbinders bauble & poinsettia dies and added an exploding insert made using 12x12 Christmas paper pads from the works. 

6x6" base card.   I first die cut the bauble and memory box collage die (one with little holes) from the centre of the paper, i then adhered gold mirror card to the card base front and added the outer frame of the paper with foam tape, i then adhered the bauble back in place, glued in flat, allowing the mirror card to shine though the holes from the collage die.  I then die cut a poinsettia and added to the centre of the bauble and die cut sentiment to finish.


For my exploding inserts i took a sheet of double sided 12x12" paper and folded using instructions from pinterest and glued into place.  Computer printed sentiment die cut into a bauble and a plain white paper bauble added to write our greeting on. 

 Trying to photograph it was interesting - hence my little light trying to hold it open, it does pop right out to easily write the greeting.

Showing it side on with the insert.  


Version 2
This time instead of gold mirror card i used a rose gold glitter card that went well with the colours in the beautiful paper. 


Version 3
The same but different, gold glitter card behind the holey apertures.  I added glossy accents to all the berries on the papers.

and the insert.  Id not left enough room around the printed sentiment to die cut into a bauble this time, so i die cut it into an oval and matted onto a gold glitter bauble.

I used this tutorial for my insert from Beccys Place blog as it was easy to follow with clear written instructions but more importantly for me clear photo step by step.  Actually its a lovely blog to take a look at when you have a minute - especially the a-z card folds page.  
(I have no affiliation with the blog) 

Items Used:
Paper Heaven pad 'swiateczna girlanda (christmas garland)
the works 12x12 paper pads 'classic christmas party' & the best time of the year' 
Spellbinders dies 'poinsettia' bauble'
  Memory box 'collage die' 
Cheerylynn sentiment die
crafters companion self adhesive glitter paper
gold mirror card

Thank you all for stopping by once again.  I hope you all have a great week. Emmax

Id love to enter the following:

***

***


***


***


Thursday, 8 September 2022

Autumn...

Good Morning everyone

Today i have a really Autumnal card using pink ink stamps. The fabulous Mr fungi, i built a woodland scene for him & his friends.

5x7" Kraft base card, i covered the front with a toadstool print paper and stencilled over the background with white gesso with a skeleton leaves effect, this softened the background to help my stamped images stand out.  I rounded the corners and inked the edges with distress inks. 

I stamped the images onto white card and watercoloured with inktense pencils, added some details with posca pens & cut them out.  I stamped the sentiment onto kraft card, cut into a strip and inked the edges.  I die cut a row of toadstools from kraft card and inked with distress inks.  I attached the toadstools behind the top of the sentiment strip and mounted onto the base with foam tape.  I then built my scene with the stamped images. 

Touches of glitter glue to the dragonfly wings to finish.

Just a close up

Version 2.  As my background paper was A4 i had enough to make a 2nd card, made the same way just a different layout.

Items Used:
Pink Ink stamps 'shitake happens' 'thistlehogs'
Clearly Besotted stamps 'seasonal sentiments'
Very old daisytrail paper
Lavinia Stencil 'Pods'
Cheerylynn toaststool die
Derwent inktense pencils
Distress Inks 'vintage photo, walnut stain, aged mahogany'
Rangers Stickles 'stardust'
 
Thank you all for stopping by. Hugs Emmax


Id love to enter the following:


***


Monday, 4 July 2022

Pet Sympathy

Good Morning everyone

Recently Ive had to make 2 pet sympathy cards, Ive kept them both fairly simple and used a lovely paw print die by cheerylynn (I think)
First one is for a cat.  I used a rich gold pearl cardstock for my base which has a leafy design in it, i cut to 6x6" and then die cut the scalloped border & paw print from the front edge.  I added an insert from a rainbow print paper and stamped the sentiment onto the insert so it shows on the front.  I stamped the cat onto left over rainbow paper, cut him out and added to the front. 

Just showing it side on, you can just about make on the design in the pearl cardstock, its years old from payper box 

***

and onto a dog design

6x6" white linen base card.  I used a heart paw print stencil on the front with distress inks in cracked pistachio and evergreen bough, i also lightly inked the edge around the outside of the stencil which gave me an inked edge to the card.  I then die cut the paw prints from the middle and stamped my sentiment in grey ink.

I stamped the dog in grey and lightly watercoloured with distress inks shaded lilac and seedless preserve, cut him out and added to the front.  I used a ombre paper for my insert, added gold paint through 3 of the paw prints and edged the cardblank with more gold paint - sadly the photo doesn't show that up very well.


This photo shows the gold up much better.  I ended up doing this as glue was showing through one of the paw prints which wasn't good, the gold acrylic paint covered it nicely.

Items Used:
Paw print die
mft scalloped edge die
Paw print stencil
Tim Holtz mini crazy dog stamps
Katzelkraft cat stamp
Clearly besotted sentiment stamp
Distress Inks
Paperartsy gold paint

Thank you all for stopping by once again.  I hope you all have a good week.  Hugs Emmaxxx


Monday, 17 January 2022

Thank yous

Good Morning everyone

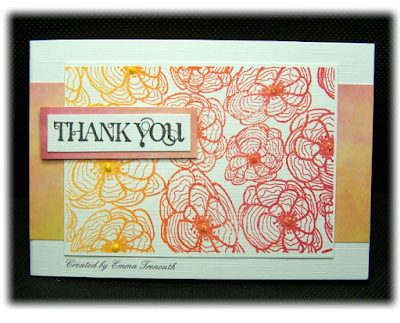
For christmas i was given 3 A7 aall&create stamps which i decided to use for some thank you cards, the first one was for the lovely person who gave me the stamps and i decided to use all 3 on one card.  I used ombre ink pads which are great for adding instant interest.


On small off cuts of white linen card i stamped the 3 stamps with ombre ink pad, die cut with stitched rectangle dies, mounted onto gold mirror card and added to a white base card with foam tape.  Sentiment die cut from white and turquoise card to finish.


Small cards approx 3x4.5" - ideal for using up small off cuts of white card from making card bases.  Here i added a snippet of green pixie powdered cardstock that i had lying on the desk.  Stamped sentiment to finish.


Here i stamped with black stazon ink onto previously alcohol inked acetate, stamp on the opposite side to the alcohol ink and then on the side of the alcohol ink i used a clear alcohol blending marker pen and removed the colour from around the flowers.  Added a white card frame and added to the base with foam tape.  Sentiment die cut from gold mirror card to finish

I did this one for my uncle as i thought it had more of a masculine feel, again stamped onto a previously alcohol inked acetate panel.

Items Used:
Aall&create stamps #556 'leaves'  #557'open leaves' #602 'rippled blossom' 
Stampin up curly cut sentiment stamps
Cheerynlynn thank you die
MFT pierced rectangle dies
Kaliedacolor ombre inkpads - 'desert heat' 'caribbean sea'
Tim Holtz alcohol inks

Thank you all for stopping by once again.  Ive been out with a mega migraine so will get around to your blogs soon.  Keep warm, stay safe.  Hugs Emmaxxx