Good Morning all
Its the 1st Friday of the month so time for a new challenge over at Creative Artiste where the theme is anything goes mixed media - using at least 3 different mediums.
The DT have gone with a Christmas theme fitting the season but you can join in with any theme.
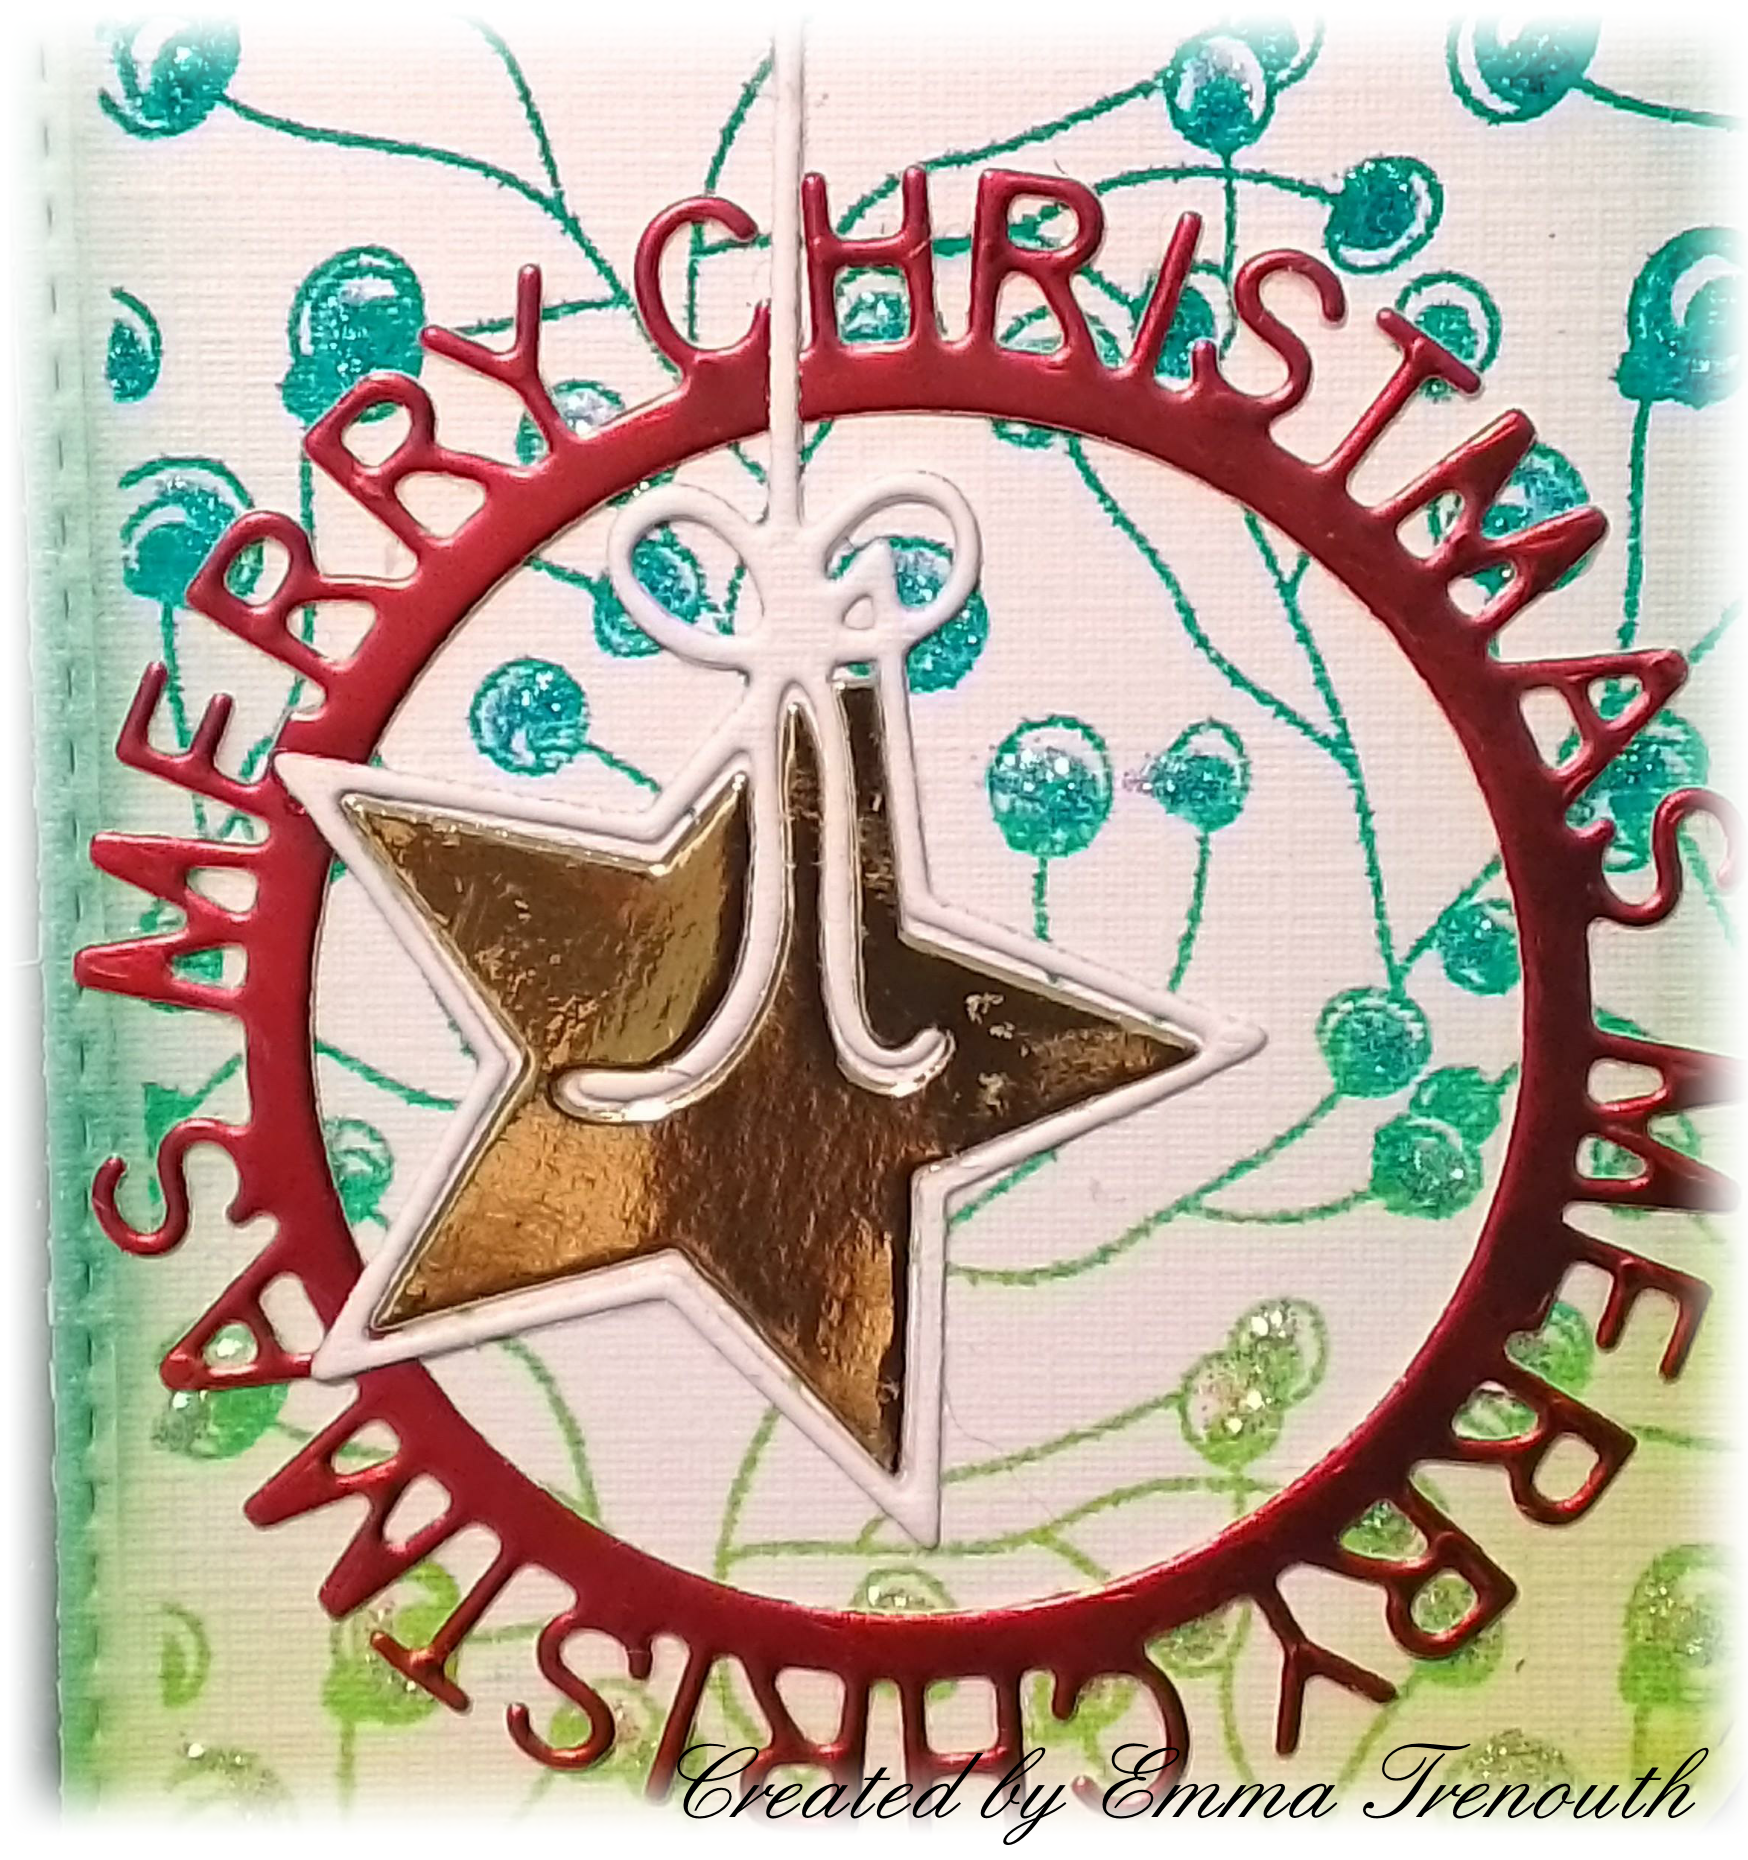
Ive made a light up stained glass effect decoration for the wall or internal door. It is 8x8" in size and Ive thrown lots at it - glitter paste, halo paste, alcohol inks, brusho's and some white gesso for the snowy effect.

I first added gold glitter paste and green halo paste to a piece of acetate with snowflake and star stencils. Once dry I added blue & purple tone alcohol inks to the back
See below for how I made up the frame... once that was finished I die cut pine branches from brusho powder stained cardstock and my deer from brown card - for the deer I layered 3 together to give them a chipboard like feel and give the antlers more stability. I tore some white card to fit the bottom and dabbled on white gesso to look like snow for the deer to stand on. I added the pine branches in place with some mini fir cones.
To finish I splattered on white gesso to look like snow and dabbed some onto the pine cones and deers antlers.

You can see the texture paste on the bauble better here, the gold glitter paste is very shimmery and the halo paste is subtle but when the light hits it it has a green pearlescence

And showing it all lit up


I made up a frame using nesting dies, white card and gold mirror card adhered together and then run through an A4 snowflake embossing folder. This frame I added over another frame cut using a large bauble shaped die - behind the bauble frame I added the acetate. By layering several frames together its given it all rigidity to hold upto being handled when turning the lights on and off and hopefully give a few years of enjoyment.
I die cut white card with the largest die I used for the front and adhered clear micro lights to the middle, taping into position. I then added foam tape around the outside edge and adhered the front panel on top - the foam tape adds space for the lights to sit comfortably in place. I adhered the light switch and battery pack to the very back of the decoration for easy access.
Items Used:
Cosmic shimmer Ultra sparkle texture paste 'sahara gold'
Stamperia Halo paste 'Green' K3P70B
Tim Holtz alcohol inks - shades of blue
Brusho Powder 'sea green, turquoise'
White gesso
Creative Craft XL Stretch circle dies
Spellbinders ornament die set (old)
Tattered Lace A4 snowflake embossing folder (old)
MFT deer dies 'die love' (quite old)
Pine branches dies (? so old ive forgotton the brand)
CraftUK ltd smooth white A3 card
Gold mirror card
Hop over to Creative Artiste to see what the rest of the DT and Guest DT have created and to join in with your anything mixed media goes.

This is the last make for my 1st year on the DT at Creative Artiste as we have a break in January. Its been great fun stretching my brain cells for so many different mixed media projects this year. I thought it would be fun to see them all together, just click on the link below each if you would like full details


Id love to enter my Christmas decoration into the following:

***


**